Handmade Beeswax Wraps vs Silicone Lids: Which Is Greener for Your Kitchen?
Introduction
If you’re reading this, you’ve likely already realized plastic wrap isn’t a great long-term solution. You’re weighing two of the most popular reusable alternatives: beeswax wraps vs silicone lids. And you’re probably hoping one of them is clearly the greener choice. The honest answer is more nuanced.
Both handmade beeswax wraps and silicone lids serve the same basic purposeâcovering food instead of single-use plasticâbut they have fundamentally different lifecycles, manufacturing footprints, and end-of-life realities. One isn’t universally better than the other. The right choice depends on how you cook, how you clean, and what ‘green’ means to you personally.
This comparison walks through everything from raw materials to daily usability so you can make an informed decision that works for your kitchen.

How Each Product Is Made and Why That Matters for Sustainability
Sustainability starts before the product ever reaches your kitchen. Understanding how beeswax wraps and silicone lids are manufactured helps you judge their true environmental impact.
Beeswax Wraps: Natural Materials With Real Tradeoffs
Handmade beeswax wraps start with cotton fabric, typically coated in a blend of beeswax, jojoba oil, and tree resin. The beeswax itself is a byproduct of honey production, so it doesn’t require dedicated agriculture. That alone gives wraps a head start in the green columnâthey’re made from a waste stream.
But there’s a catch. The cotton in mass-produced wraps is often grown conventionally, meaning pesticides and heavy water use. If you buy from a small maker who sources organic cotton, the footprint shrinks further. Locally sourced beeswax also reduces transport emissions compared to imported wraps.
Silicone Lids: Durable but Energy-Intensive
Silicone lids come from silica sand, a natural resource, but turning that sand into food-grade silicone requires significant energy input. The process involves high heat and chemical synthesis. Silicone is not biodegradable and won’t break down in your backyard compost.
That said, silicone is inert, doesn’t leach chemicals, and can last for years. Some manufacturers now offer recyclable silicone, but here’s the reality: most municipal recycling programs don’t accept it. You’d need to mail it to a specialized facility.
From a production standpoint, beeswax wraps have a lower starting footprint. Silicone’s environmental cost is backloadedâyou pay for it at manufacture, but you get years of reuse that offset that initial energy.
Lifespan and End-of-Life: Which Lasts Longer and What Happens When It Wears Out
A friend of mine switched to both products about a year ago. She wanted to see which one actually held up. Eight months in, two of her three wraps were starting to lose their tackiness. The silicone lids looked the same as the day she bought them.
That tracks with typical lifespans. Beeswax wraps last 6 to 12 months with good careâmaybe longer if you re-wax them. Silicone lids can easily go 3 to 5 years and sometimes longer. From a pure durability standpoint, silicone wins.
But longevity isn’t the whole story.
When a beeswax wrap wears out, you can compost it. Snip it into strips, toss it in a worm bin, or add it to your green waste if the beeswax is natural and the cotton undyed. It breaks down.
When a silicone lid wears out, you can’t compost it. You have to either mail it to a specialized recycler (companies like Terracycle accept silicone) or throw it in the trash. Most people choose the trash.
So the tradeoff looks like this: you’ll replace wraps more often, but they return to the earth. You’ll replace lids far less often, but when you do, they create a non-biodegradable waste problem.
If your personal priority is zero waste at end of life, wraps align better. If you want something that won’t need replacing for years, lids are the practical choice.

Everyday Usability: Seal Strength, Flexibility, and Cleaning
How these products perform day-to-day is where the rubber hits the roadâor in this case, the wax hits the bowl.
Beeswax wraps are great for irregular shapes. You can mold them around a half-cut avocado, a wedge of cheese, or a loaf of bread using the warmth of your hands. The seal is decent but not airtight. Over time, wraps lose their stickiness, especially if you handle them aggressively.
The rules matter: never use beeswax wraps with raw meat, hot foods (heat melts the wax), or acidic ingredients like tomato sauce. That limits their utility for certain leftovers. Travelers who frequently pack lunches may want to check out handmade beeswax wrap sets designed for sandwiches and snacks.
Silicone lids stretch to fit a variety of containers, including metal, glass, ceramic, and plastic. They create a tight, somewhat waterproof seal. They can handle heat up to around 400°F, making them fine for microwaving and dishwasher-safe. But they don’t conform to odd shapes like a half-cut fruit.
Cleaning is a split decision. Wraps need gentle hand washing with cool water and mild soap. Hot water destroys the wax coating. Silicone lids can go in the dishwasher, but some lids absorb odors from strong foods like garlic or curry.
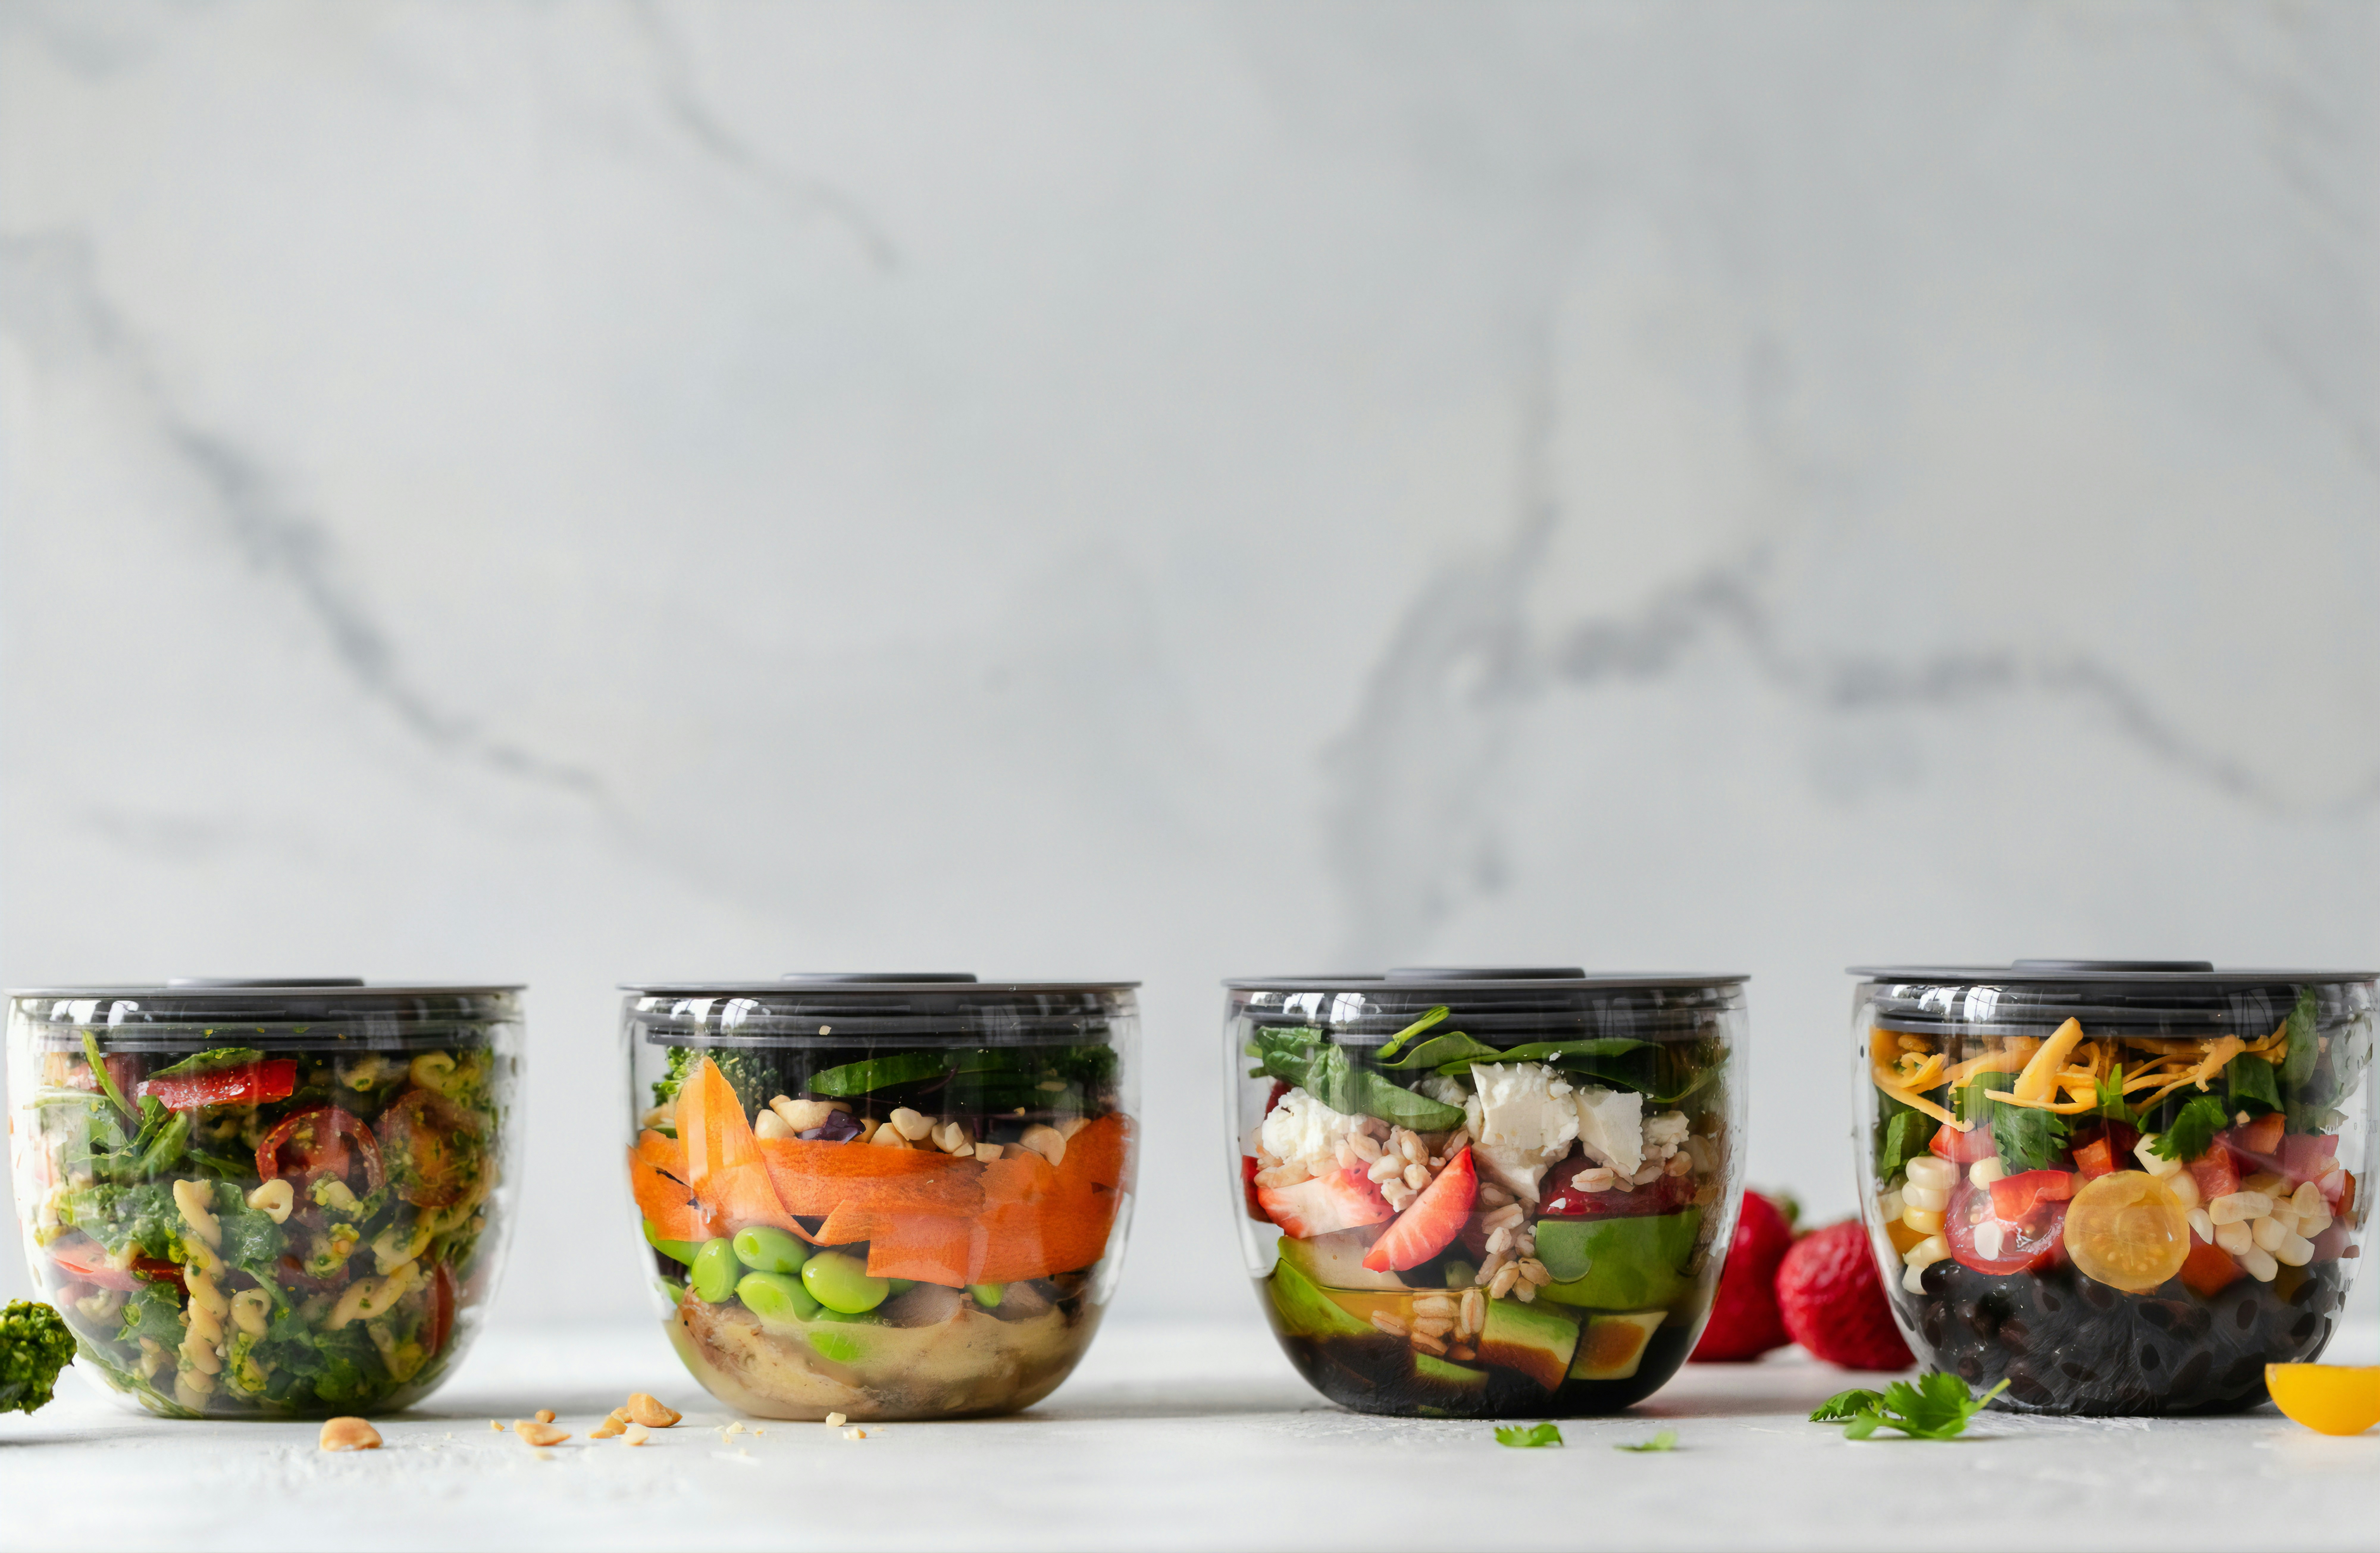
For a practical example: a ceramic bowl of leftover chili is perfect for a silicone lidâthe seal is tight, and you can microwave it directly. A block of hard cheese is ideal for a beeswax wrap.
Neither product covers all scenarios. That’s why many people eventually end up owning both.
Cost Comparison: Upfront Price vs. Long-Term Value
Let’s talk numbers.
A set of three handmade beeswax wraps typically runs $18 to $25. A set of six silicone lids costs $20 to $30. The upfront prices are close, but the math changes once you factor in lifespan.
- Beeswax wraps, daily use for one year: about $0.05 per use, assuming you buy one set that lasts 12 months.
- Silicone lids, daily use for four years: about $0.02 per use, assuming one set of six lids.
On cost per use, silicone lids are cheaper over time. But that calculation ignores end-of-life. Wraps biodegrade. Lids don’t. If you factor the environmental cost of eventual disposal, the gap narrows.
There’s also a local economy angle. Handmade beeswax wraps from small makersâlocal beekeepers, craft fairs, or Etsy shopsâsupport smaller scale, lower-emission production. Silicone lids are almost always factory-made, often overseas.
If budget is tight and you plan to replace wraps yearly, lids may be more cost-effective. If you value supporting local makers and want a product that disappears when it’s done, wraps offer intangible value.
The Greenness Factor: A Side-by-Side Comparison Table
| Factor | Beeswax Wraps | Silicone Lids | Plastic Wrap (Baseline) |
|---|---|---|---|
| Raw Materials | Natural (cotton, beeswax, resin) | Synthetic (silica, chemicals) | Petroleum-based |
| Biodegradability | Yes (compostable) | No (landfill or specialized recycle) | No |
| Production Energy | Low to moderate | High | High |
| Lifespan | 6â12 months | 3â5 years | Single-use |
| Repairability | Yes (re-waxable) | No (cannot repair) | No |
| End-of-Life Options | Compost, worm bin | Specialized recycling, landfill | Trash only |
Neither product is perfect. Plastic wrap is the clear worst option across the boardâit’s single-use, petroleum-based, and destined for landfill. Between wraps and lids, you’re choosing between a shorter-lived natural product and a longer-lived synthetic one. Both are improvements over plastic wrap. The ‘greener’ choice depends on which factors you prioritize.
Common Mistakes People Make When Switching to Reusable Food Covers
I’ve seen plenty of people try reusable covers and then give up because they made a few easily avoidable mistakes.
- Using beeswax wraps with acidic foods. Lemon wedges, tomato sauce, and citrus fruit degrade the wax coating quickly. Your wrap gets sticky and loses effectiveness.
- Putting silicone lids in the microwave without venting. Silicone lids can pop off and create a mess. Leave a corner lifted or use a microwave vent cover.
- Washing beeswax wraps in hot water. This melts the wax right off the fabric. Cold or cool water only.
- Storing wraps in direct sunlight. Heat softens the wax. Keep them in a drawer away from the stove.
- Buying the wrong size lid set. Many lid sets include only large and medium sizes. Check that the set includes small lids for mugs, jars, or narrow bowls. For those who want to avoid this issue, a set of universal silicone lids in multiple sizes can be a more practical option.
These mistakes are easy to avoid once you know about them. If you’re new to reusable covers, start with a single set of each to test your habits before stocking up.
Best Use Cases: When to Choose Beeswax Wraps and When to Use Silicone Lids
Here’s a practical breakdown of what each product does best.
Beeswax Wraps Are Best For:
- Covering half-cut avocados, lemons, or onions
- Wrapping cheese blocks (they breathe slightly, which helps cheese stay fresh)
- Wrapping bread and baked goods
- Wrapping sandwiches for lunch
- Covering bowls with irregular rims (like a hand-thrown pottery bowl)
Silicone Lids Are Best For:
- Sealing pots of soup, stew, or chili
- Covering leftover pasta or grain bowls
- Sealing mixing bowls with wet batters
- Meal prep containers for on-the-go lunches
- Microwaving directly without swapping covers
Grey Area:
Keeping cut fruit fresh works for both. Beeswax wraps conform better to irregular fruit shapes. Silicone lids are quicker and easier to snap on. If you’re in a hurry, lids win. If you want a snug custom fit, wraps win.
Travel:
For picnics, lunch kits, or road trips, silicone lids are more durable and won’t lose shape in a bag. Beeswax wraps are lighter and pack down small, but they can lose their seal if crushed.
Instead of picking one, many people keep a small wrap set for daily produce and cheese, and a lid set for leftovers and meal prep. The overlap is intentional.
Three Handmade Beeswax Wrap Sets Worth Considering
If you’re leaning toward beeswax wraps, these three options cover different needs.
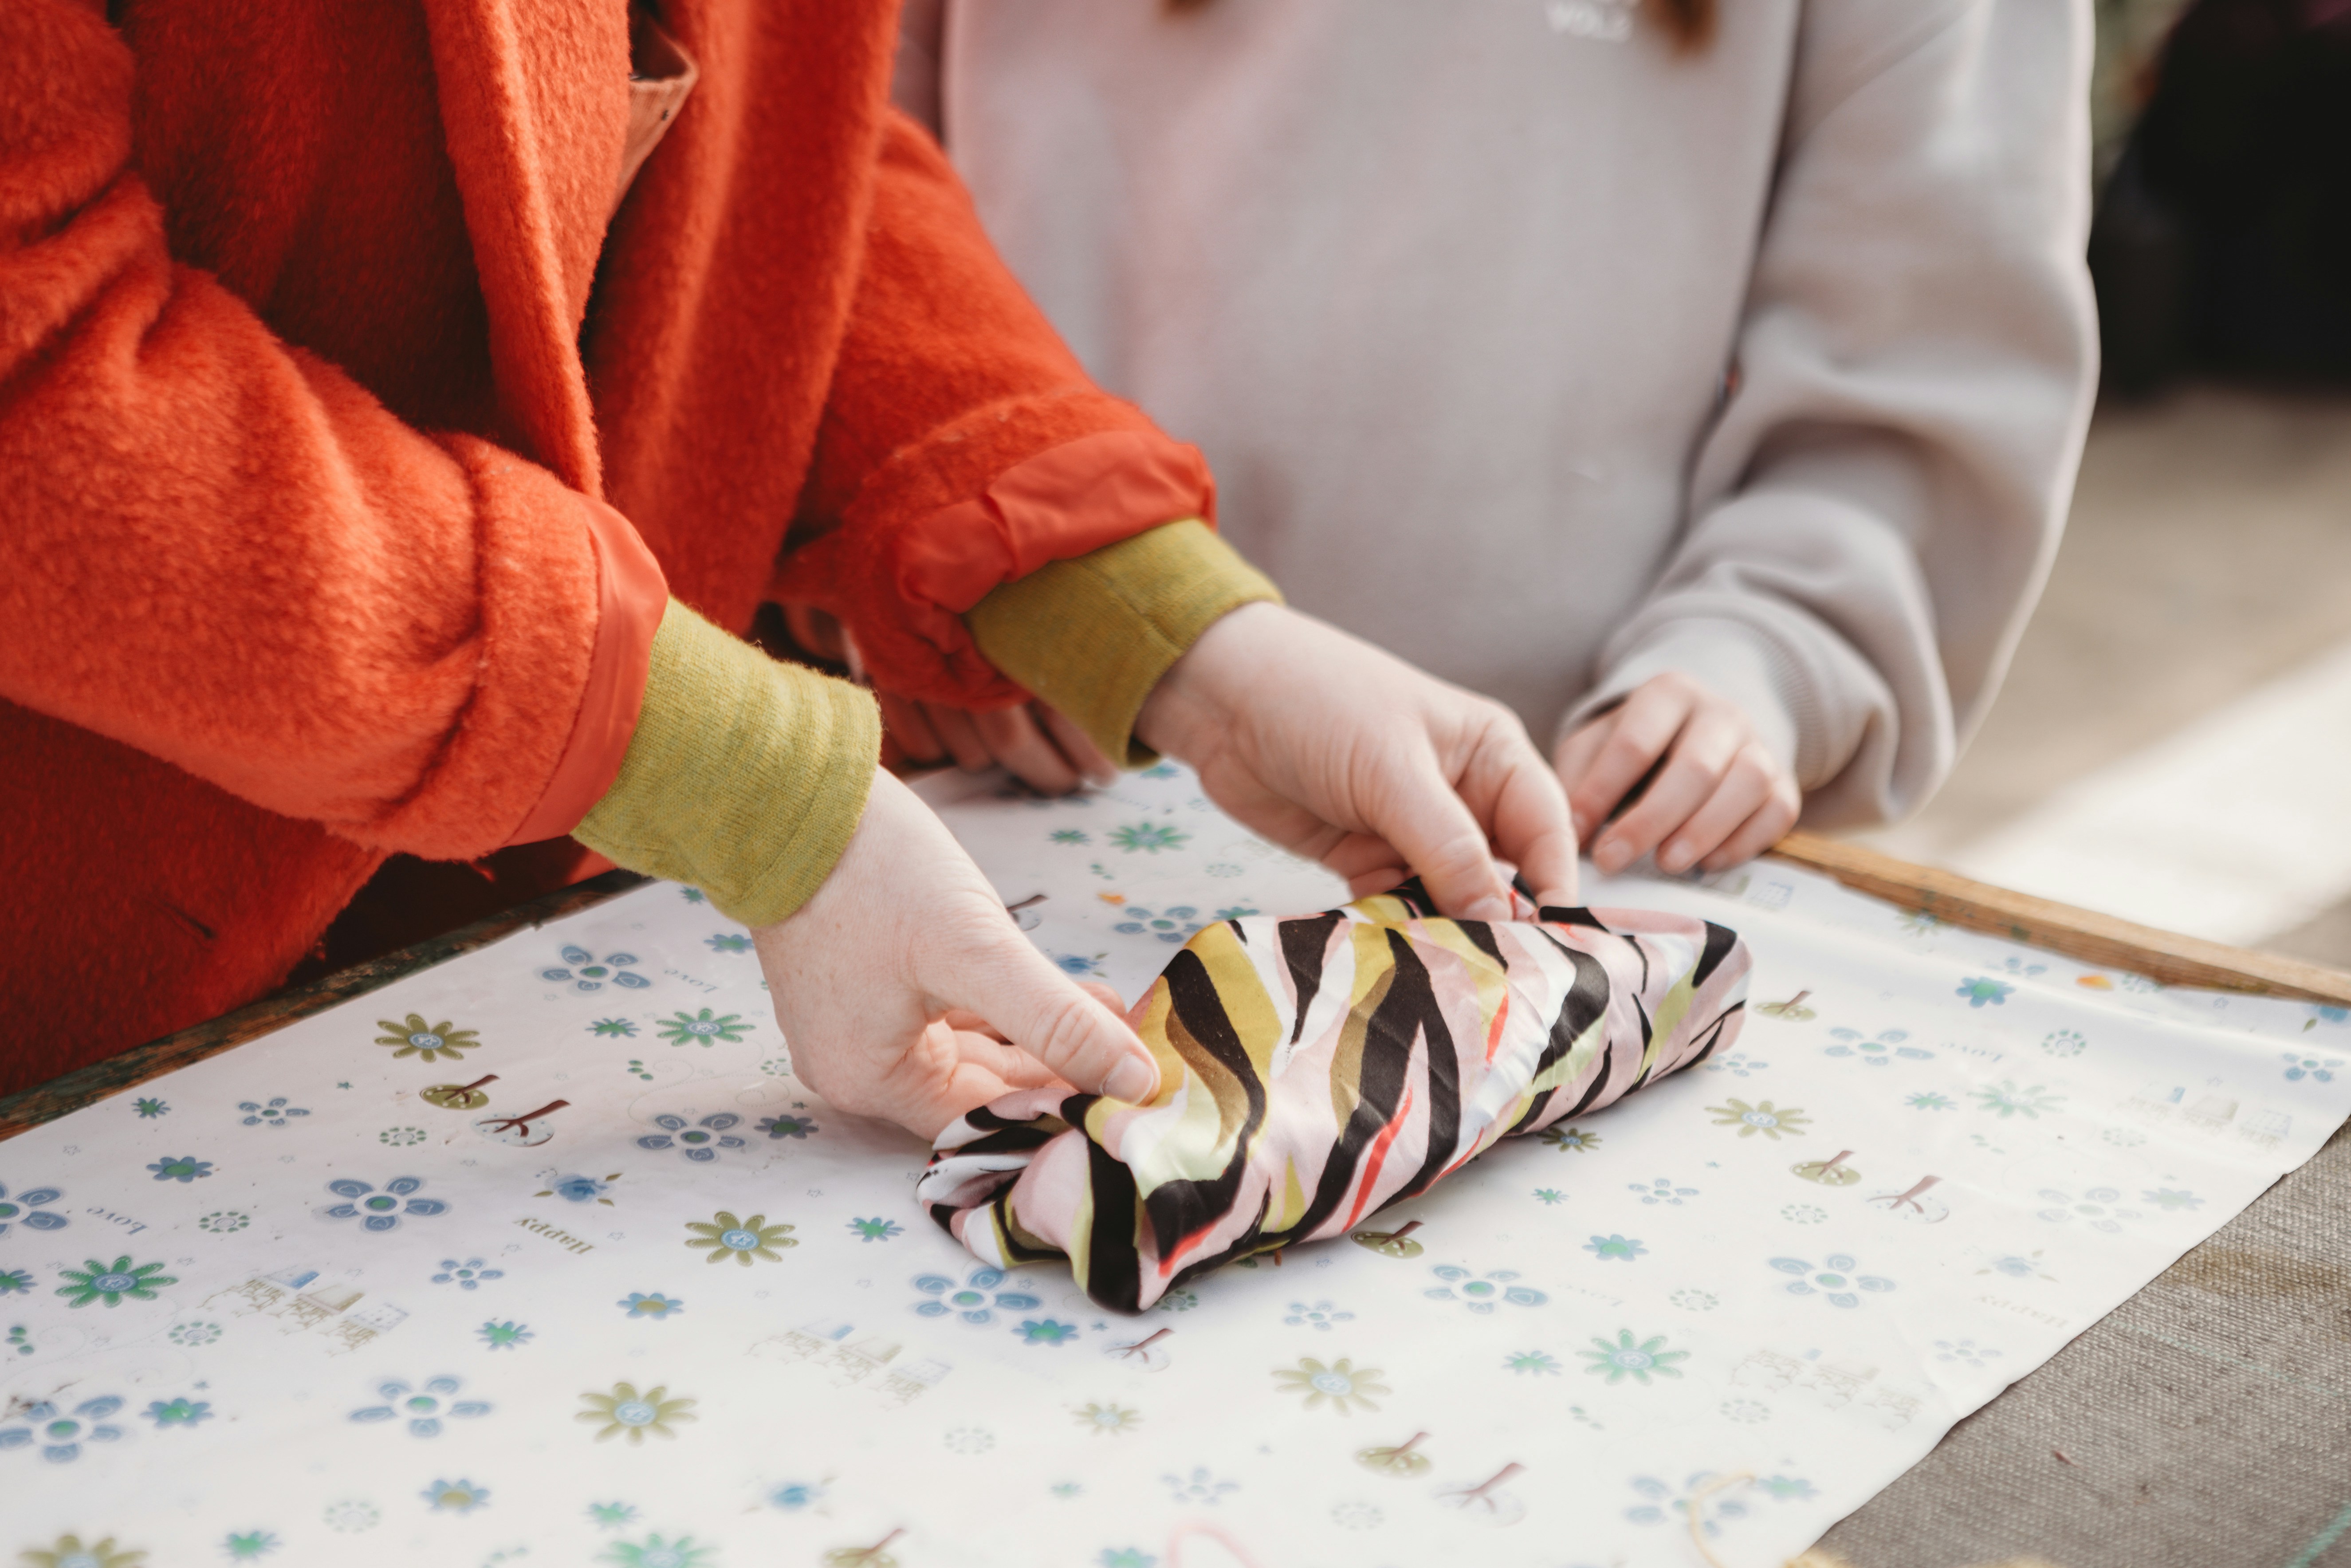
Best for small kitchens: A three-piece set with sizes small (sandwich wrap), medium (half avocado), and large (bread). Look for organic cotton and local beeswax if possible. Expect to pay around $20.
Most versatile set: A six-piece set that includes two small, two medium, and two large wraps. This covers daily use without running out. Mid-range pricing around $25. Some sets include a small care card with tips for re-waxing.
Budget-friendly option: A two-pack of large wraps for around $18. Perfect for testing the waters before committing to a full set. Not every wrap needs to be handmadeâsome makers offer starter kits with basic sizes.
Care note: To extend the life of any wrap, wash gently in cool water, air dry flat, and keep away from direct heat. If they lose stickiness after a few months, you can re-wax them with beeswax shavings and an iron.

Three Silicone Lid Sets That Hold Up Over Time
If silicone lids feel like the better fit, here are setups worth looking at.
Best all-around set: A six-piece set with sizes ranging from 2.5 inches to 7 inches. Made from platinum silicone (higher purity and fewer additives), BPA-free, and dishwasher safe. Expect to pay $22â$28. Fits most standard bowls, pots, and containers.
Most durable option: A set with extra-thick silicone walls. These resist tearing and handle frequent dishwasher cycles. Some models include a storage bag to keep lids organized. Around $30.
Best for odor-prone kitchens: Look for a set labeled as odor-resistant. Standard silicone can absorb smells from garlic, onion, or curry. A few brands use a specially treated surface that resists this. Expect to pay slightly moreâaround $28âbut the reduced odor absorption makes a difference if you cook heavily spiced dishes often.
Quick summary: If you’re a frequent meal prepper who heats leftovers often, silicone lids will serve you better than wraps. If you’re focused on zero waste and composting, wraps are the greener path.
How to Make Your Own Beeswax Wraps at Home (And Save Money)
Making your own beeswax wraps is straightforward and reduces packaging waste further. It’s a good project if you enjoy crafting, or if you want to customize sizes for oddly shaped items.
What you need:
- 100% cotton fabric (pre-washed to remove sizing)
- Beeswax pellets (pure, not synthetic blends)
- Jojoba oil (a small amount helps flexibility)
- Pine resin (optional, increases stickiness)
- A double boiler or an old pot and a glass bowl
- A paintbrush or tongs
Basic steps:
- Cut fabric to your desired sizes and shapes.
- Melt beeswax pellets with a few drops of jojoba oil in the double boiler.
- Dip the fabric into the melted wax, or paint the wax onto the fabric.
- Lay the waxed fabric on a drying rack or parchment paper.
- Let it cool and harden completely before use.
Tradeoff: Homemade wraps are often less durable than commercial ones because achieving even coating takes practice. But they’re cheaperâraw materials for a batch of wraps can cost less than a single set from a storeâand you can make them in any size you want. If you prefer not to make your own, a quality handmade beeswax wrap set can be just as effective.
Sourcing tip: Check local farmers markets for beeswax from nearby beekeepers. You’ll get a purer product and avoid synthetic additives sometimes found in wax pellets.
Common Questions About Switching to Reusable Food Covers
Can I use beeswax wraps with raw meat?
No. The wraps cannot be sanitized at high temperatures, so they are not suitable for raw meat contact. Use glass or stainless steel containers with silicone lids for that.
Are silicone lids safe in the oven?
No. Silicone lids handle microwave heat (up to around 400°F) but not direct oven heat. They will melt or warp above that. Use them for stovetop and microwave only.
How do I refresh a tired wrap?
Place the wrap between two sheets of parchment paper and run an iron over it on low heat. The wax melts and redistributes. Add a few beeswax shavings if needed.
Will silicone lids fit all my containers?
Check the size range of the set. Most sets include multiple diameters. Measure your bowls before buying to ensure compatibility. Many lids fit standard canning jars as well.
Do beeswax wraps smell after a while?
Yes, they can absorb odors over time. Washing with a 1:4 vinegar-water solution can help. If the smell persists, it’s usually time to re-wax or replace the wrap.
Final Verdict: Which One Should You Choose?
If your top priority is zero waste and composting, beeswax wraps are the better choice. Accept that you’ll replace them more often, and budget for that.
If your top priority is durability, convenience, and dishwasher-friendly cleaning, silicone lids win. They’ll cost less per use over multiple years, even if they don’t break down at end of life.
Many people end up using both. A wrap starter kit and a small lid set let you test your habits without overcommitting. That approach works well because you’ll quickly discover which tasks you reach for which cover.
What matters most is that you replace some single-use plastic wrap. Even partial replacement is a win. The greenest option is the one you’ll actually use consistently.